1. For supplies needed, please see the Supplies list on the page linked at the top of this website.
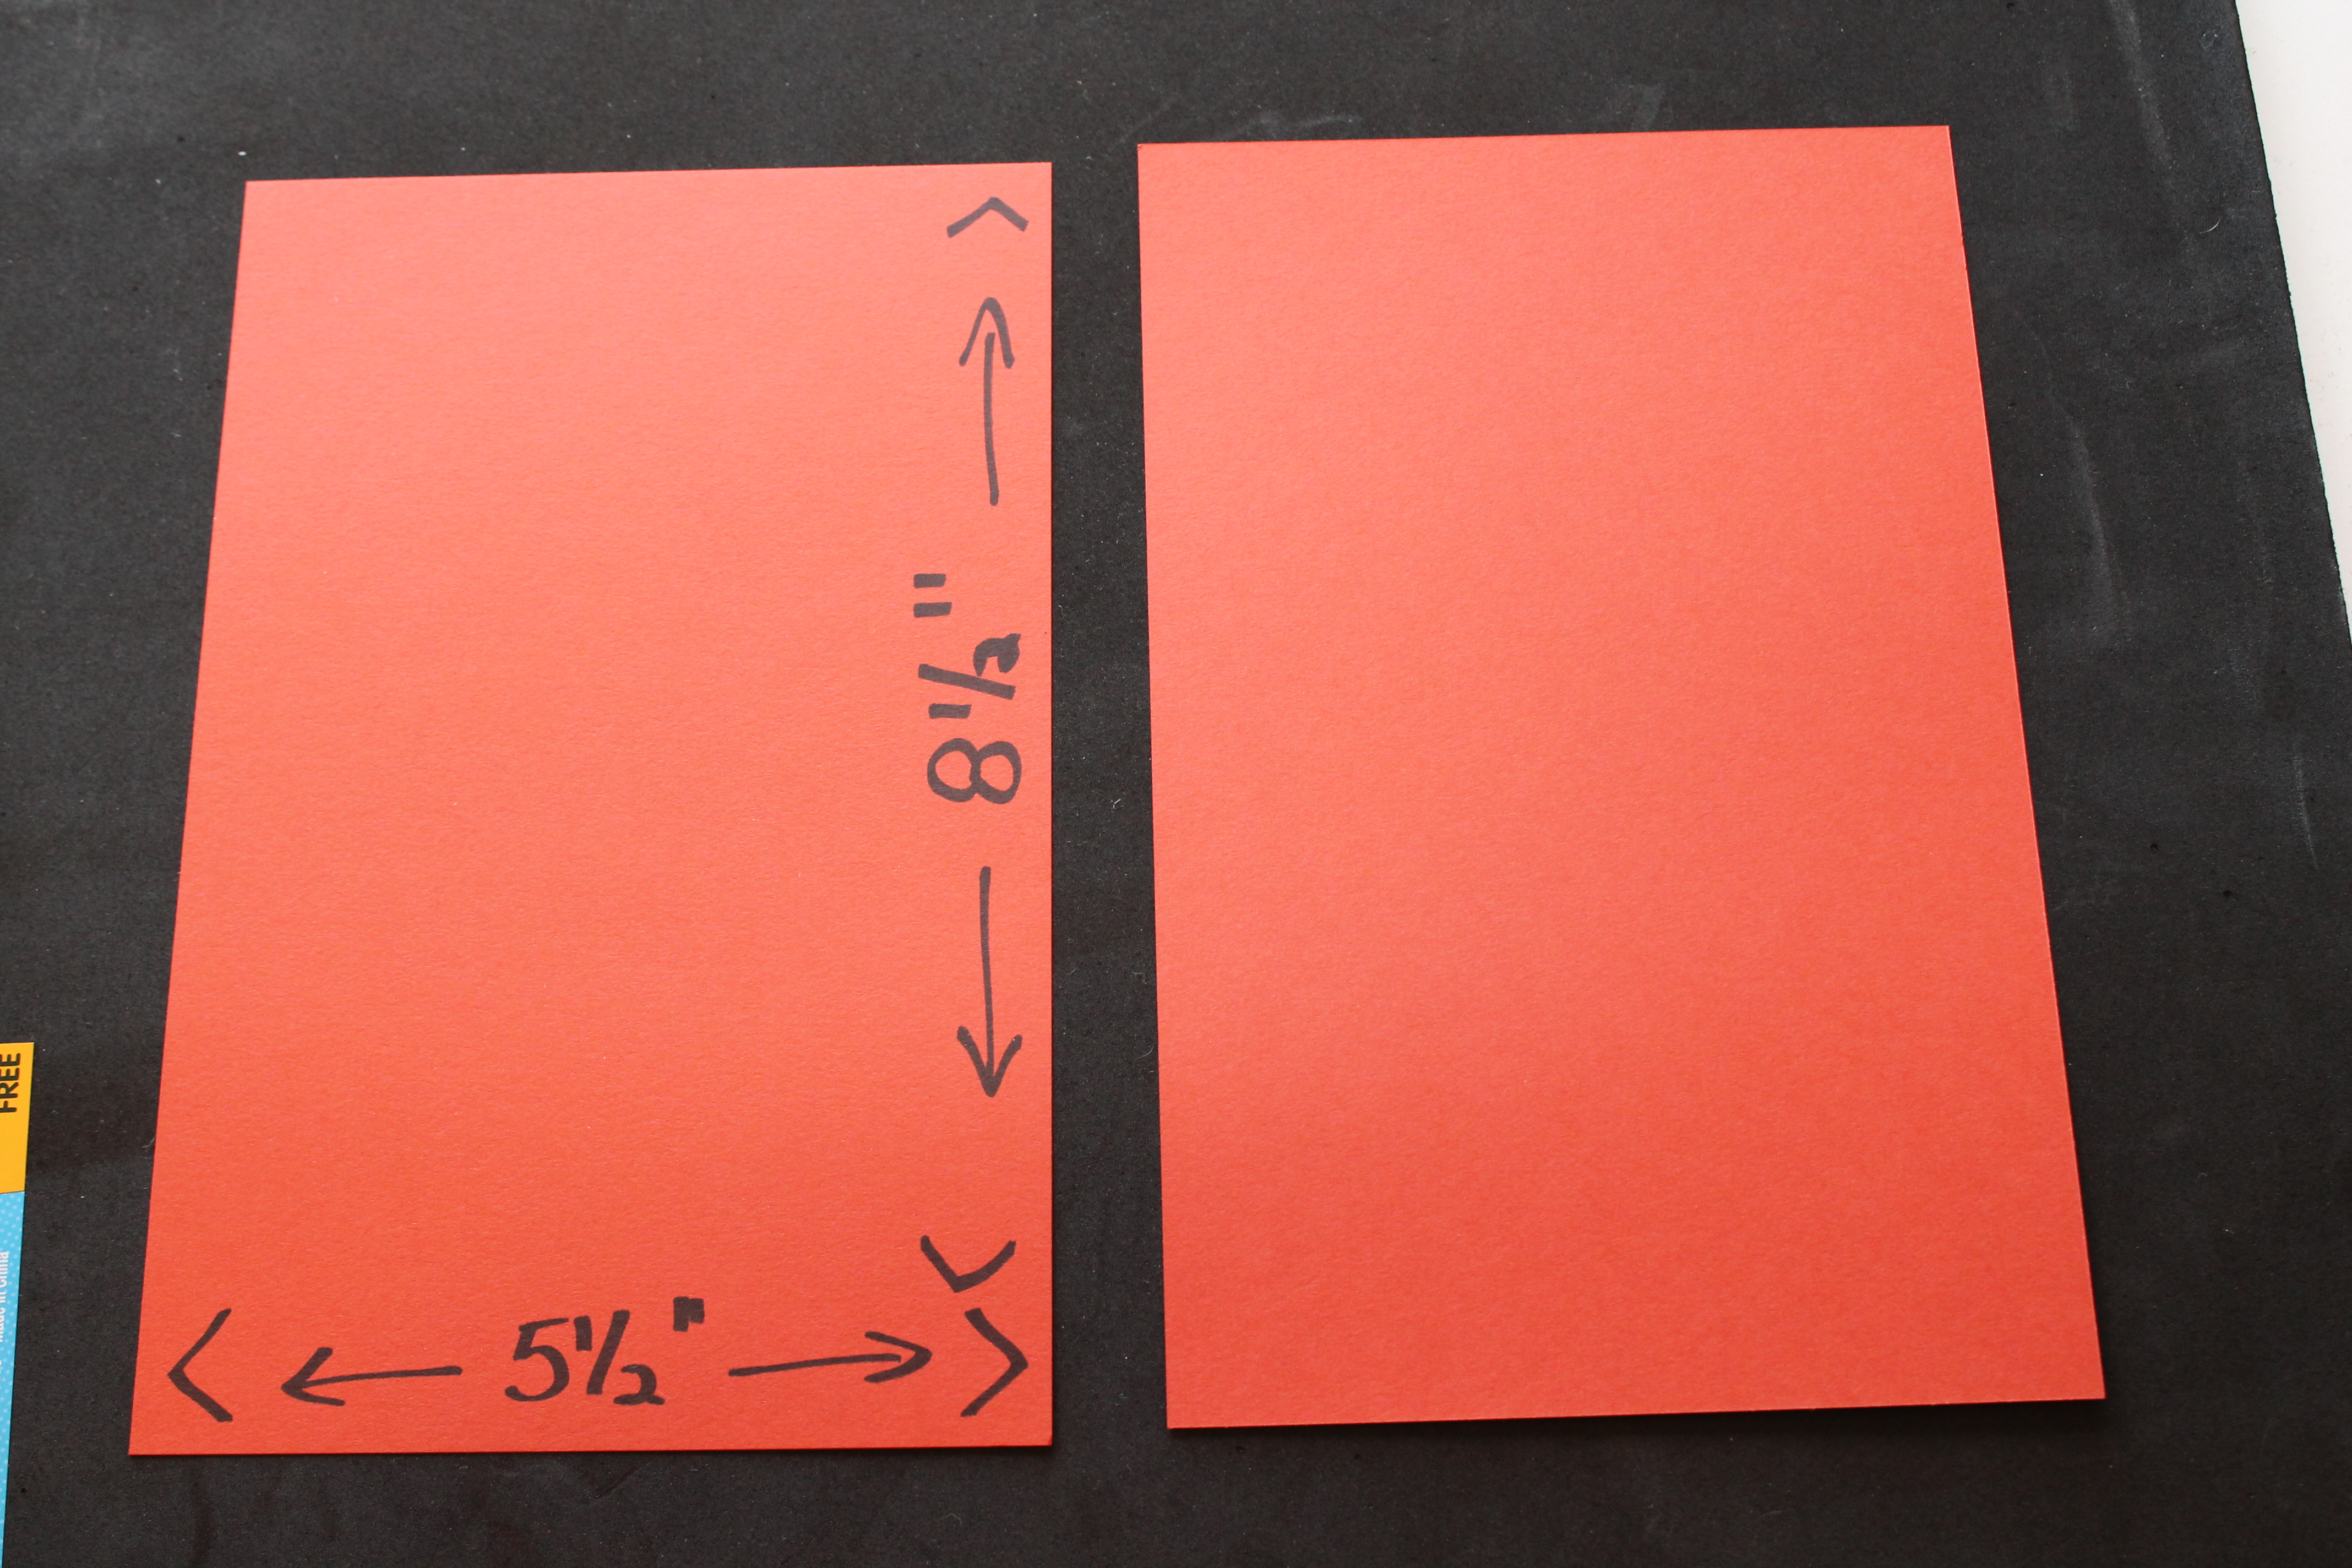
2. Take the first 8 1/2″ x 11″ piece of paper and cut it in half. The piece should be 5 1/2″ x 8 1/2″. Discard left over piece.

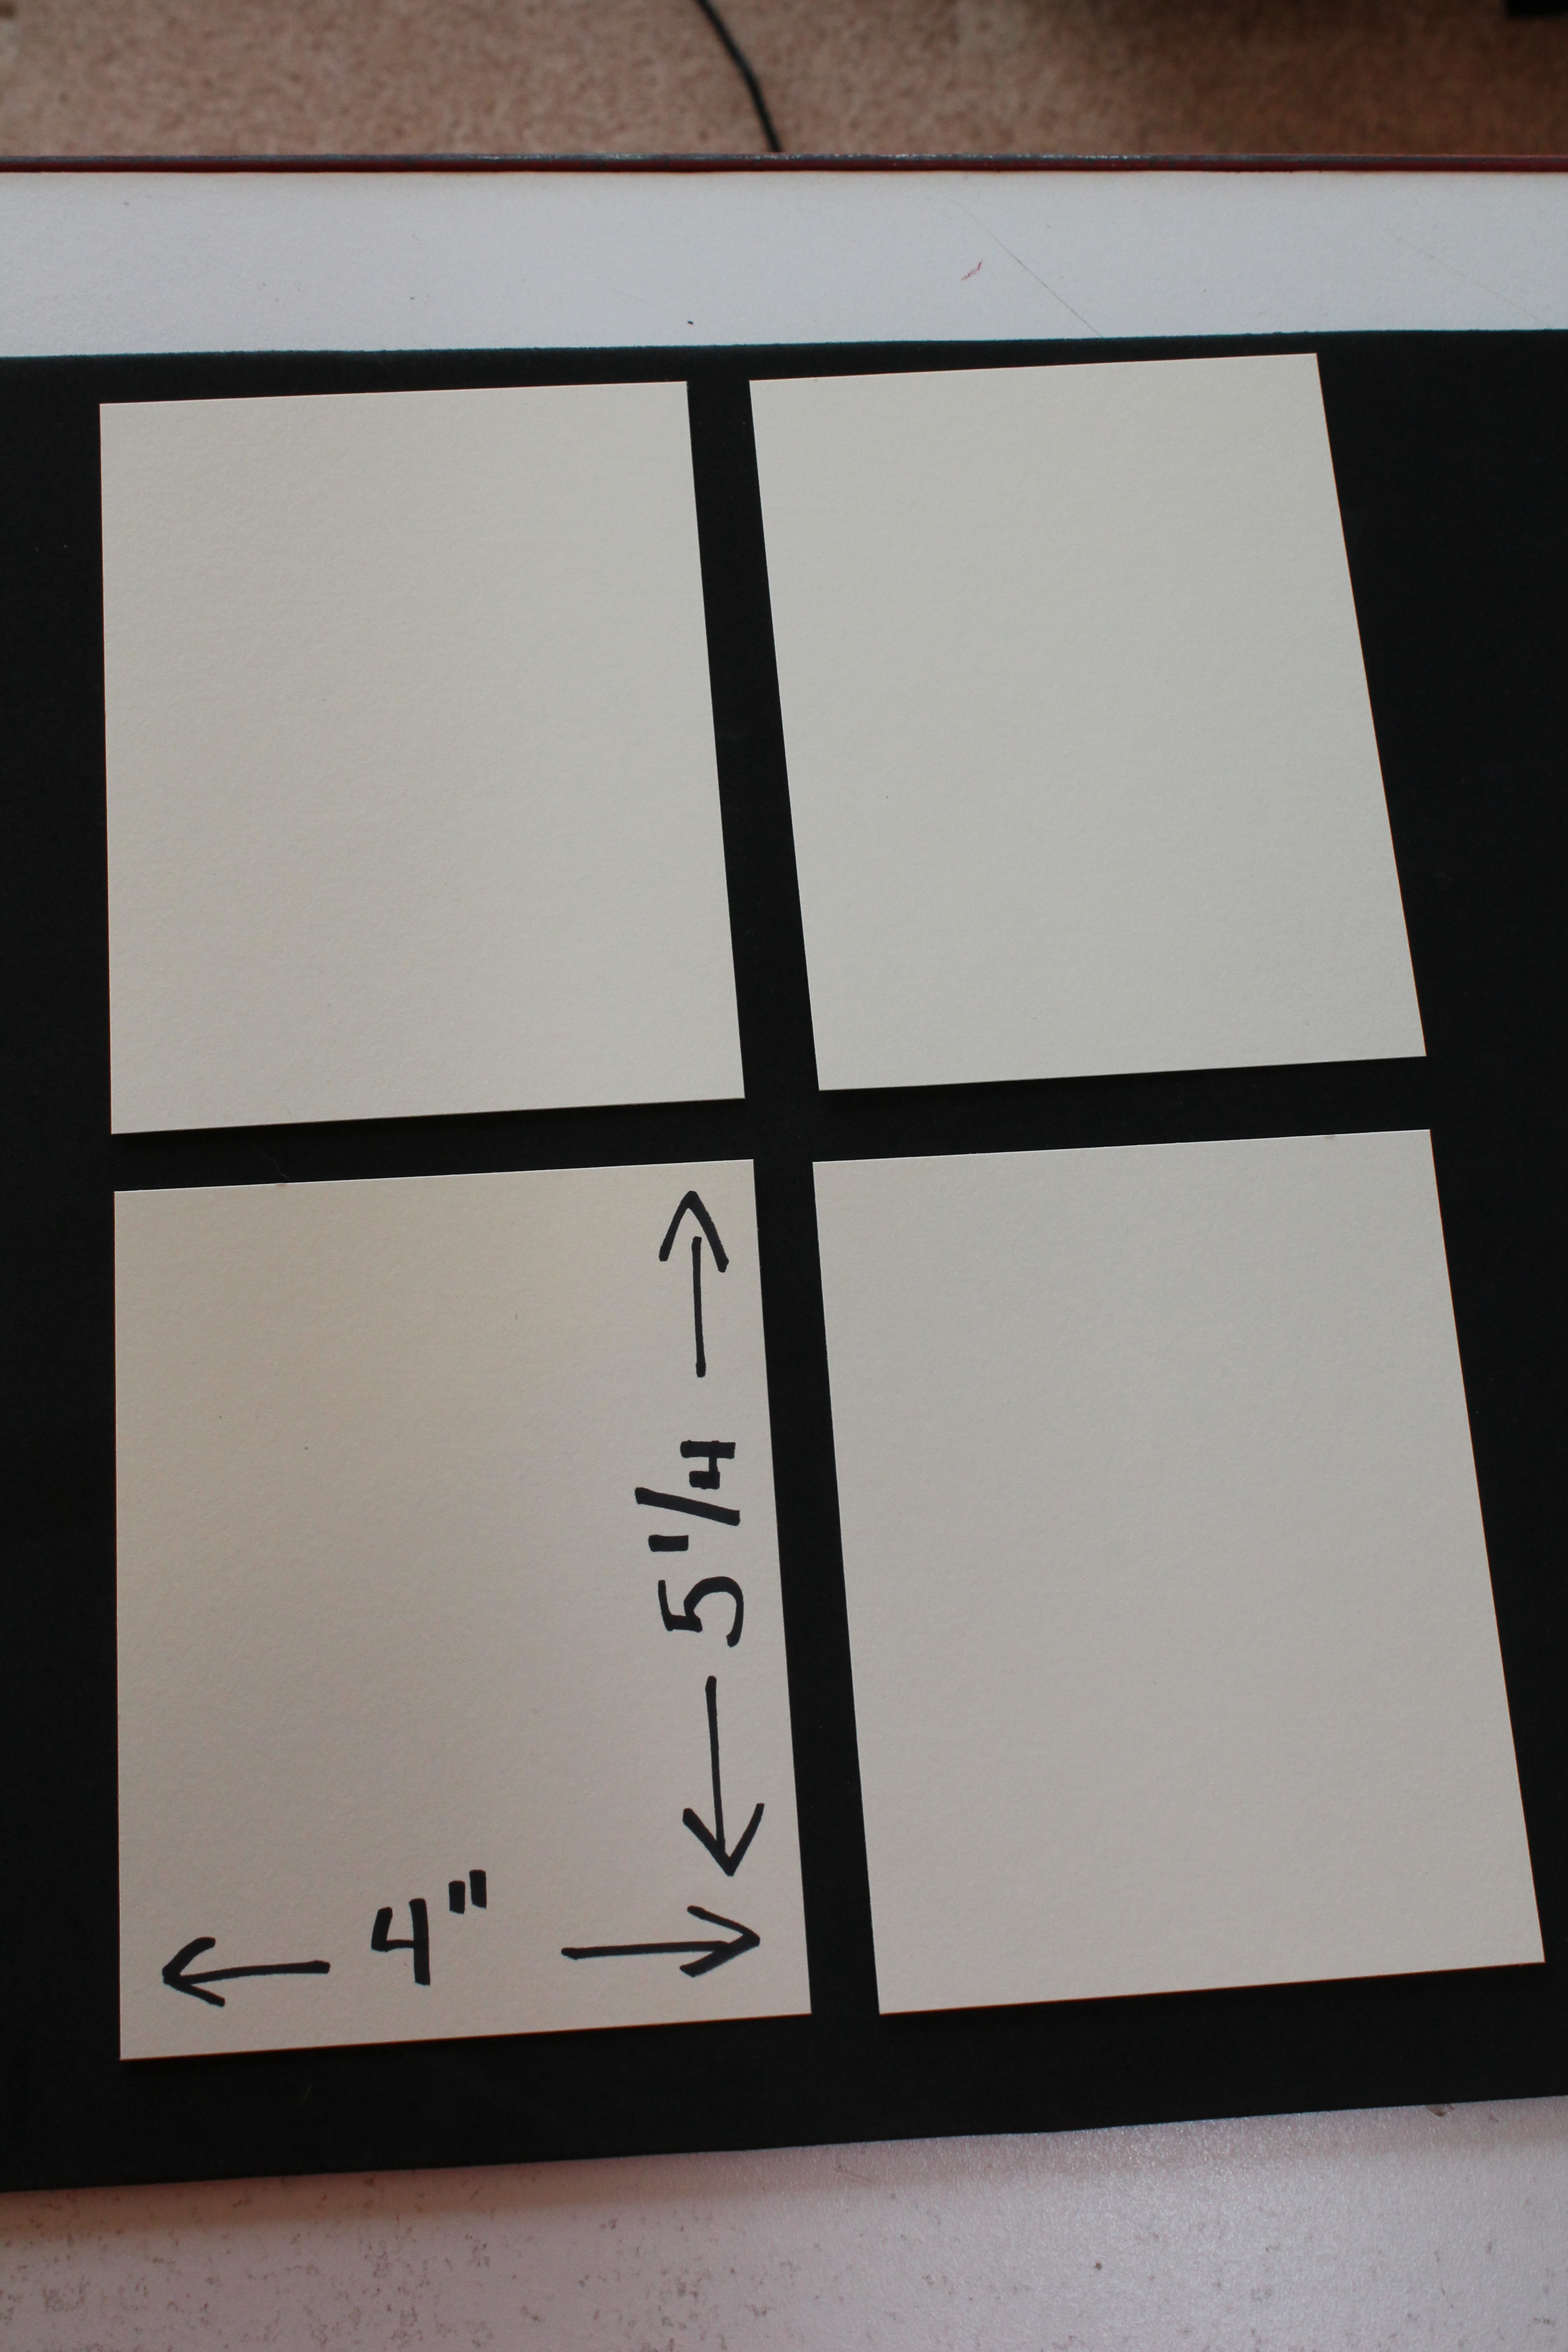
3. Take second piece of cardstock and cut out 4 pieces that measure 4″ x 5 1/4″ inches.
4. Fold original piece of cardstock in half. You can use a ruler, a bone folder, or a scoring tool to accomplish this task.

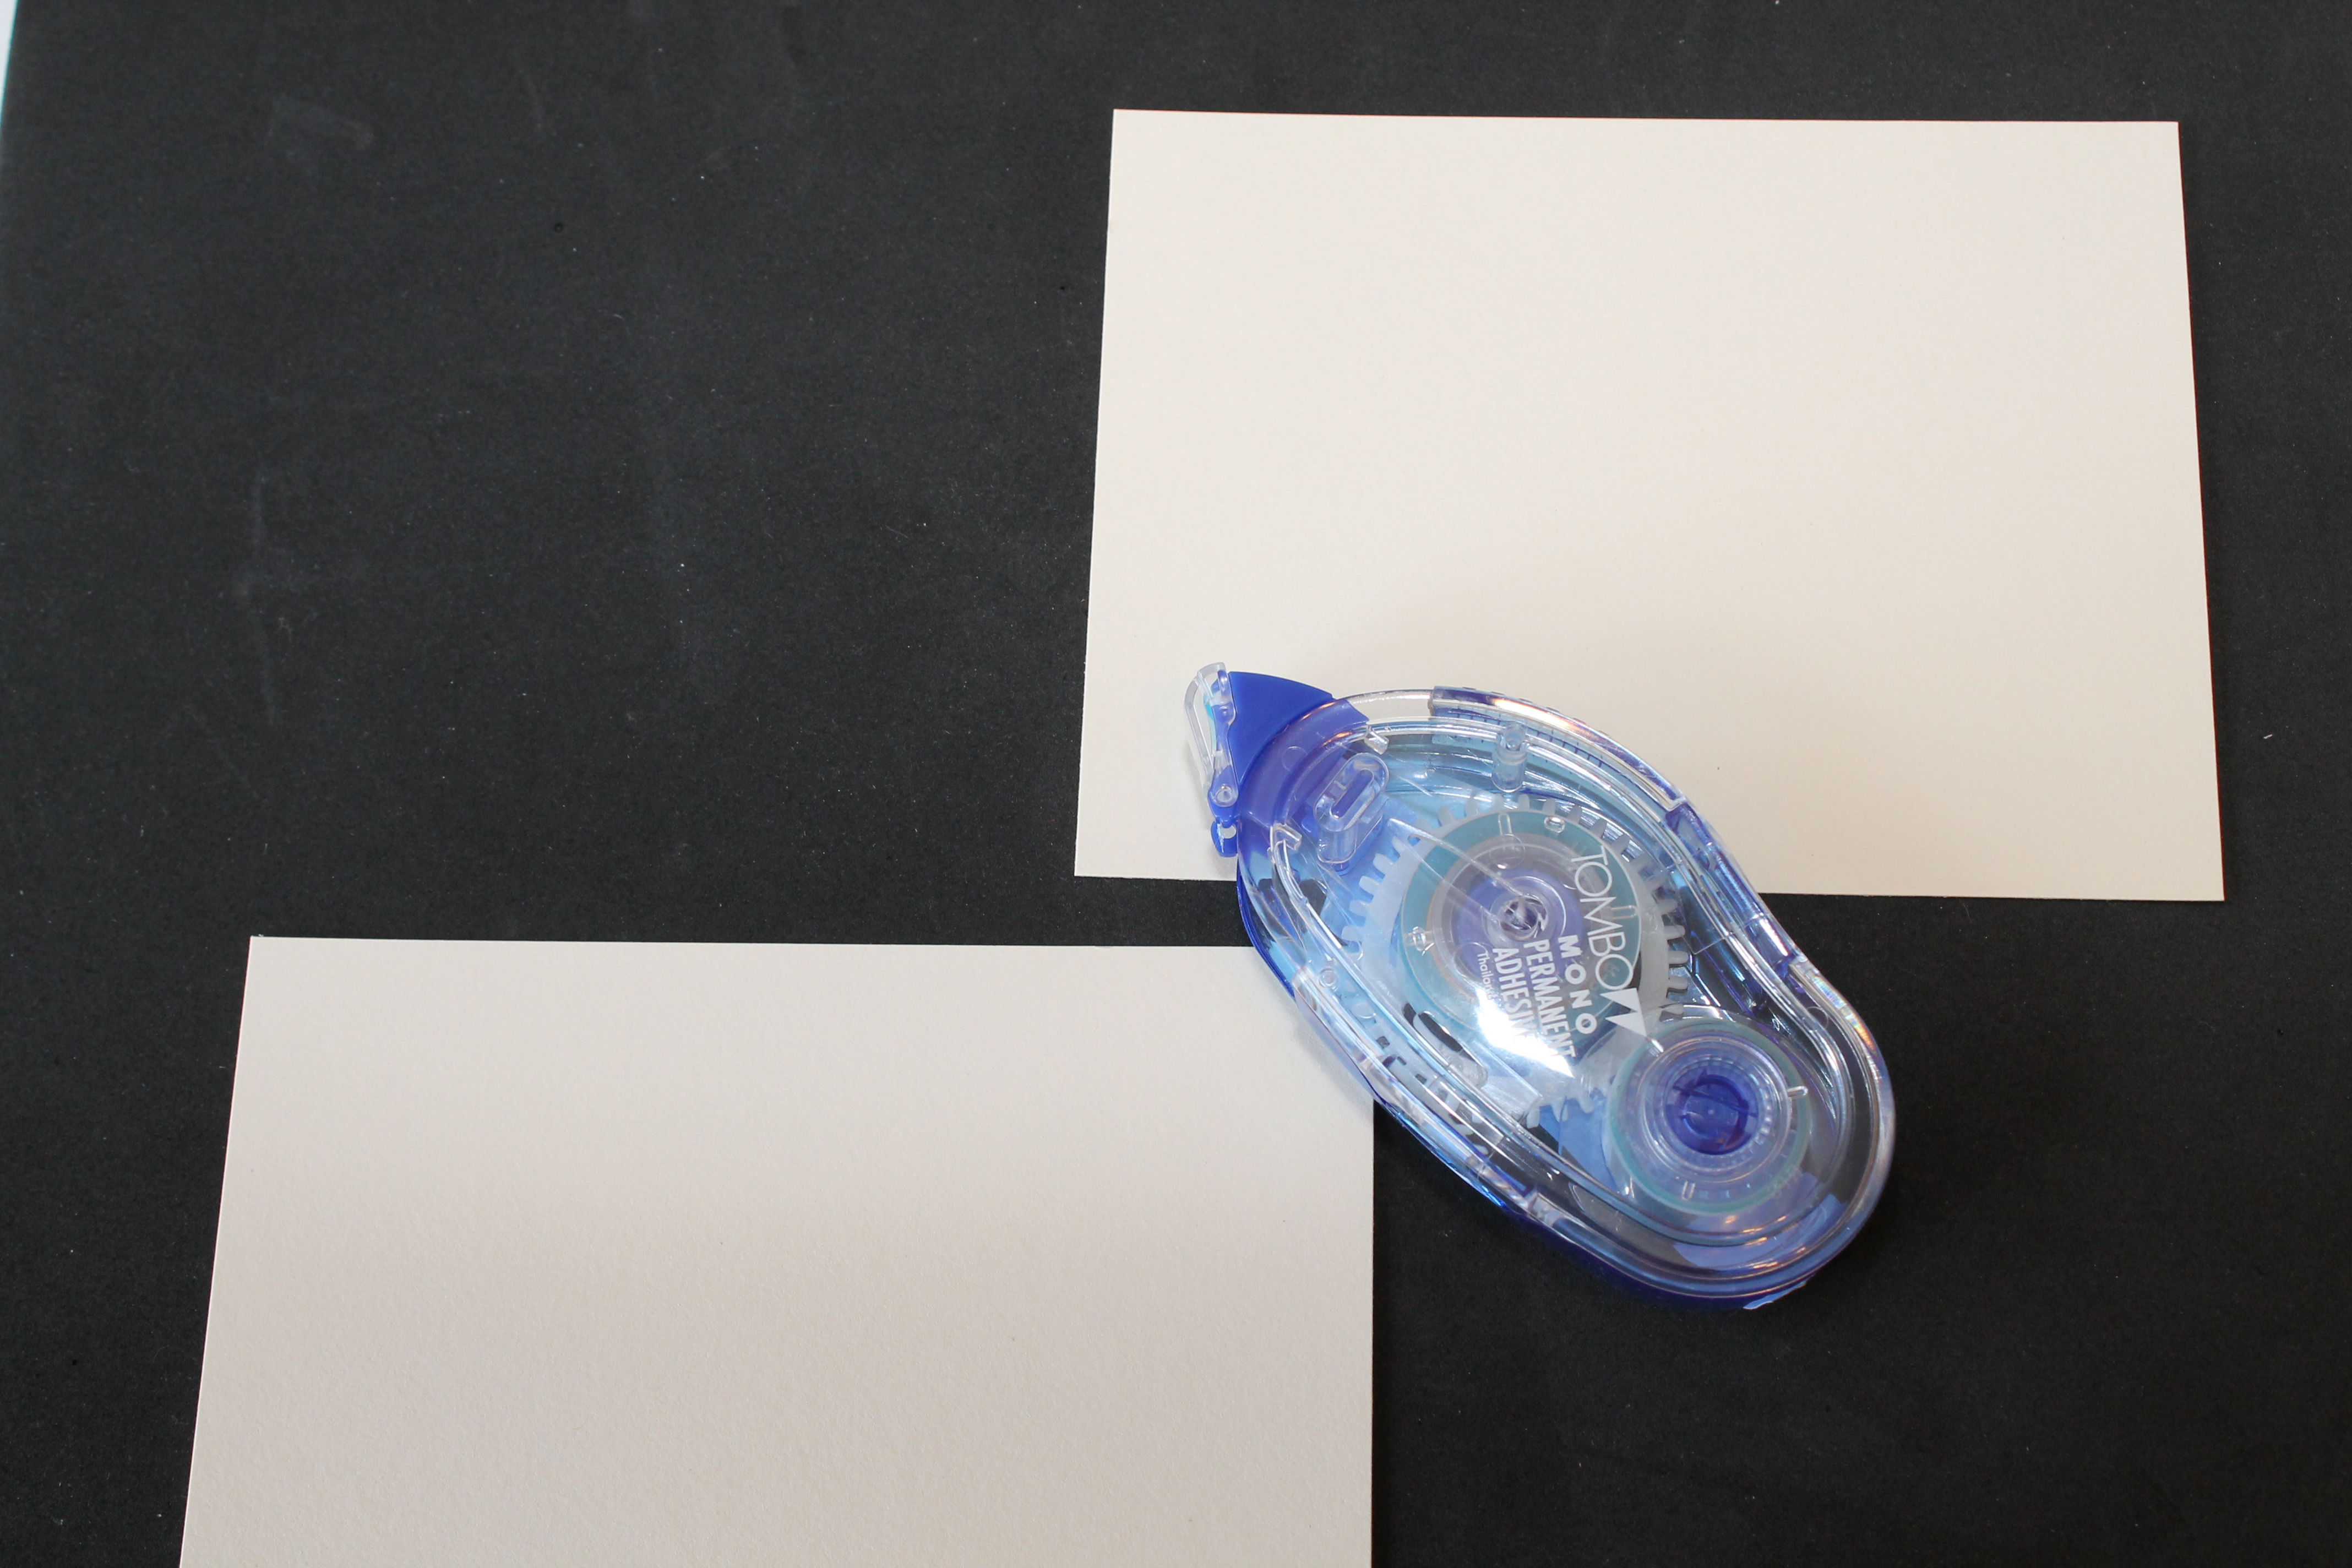
5. Using the tape runner, add adhesive to two of the 4″ x 5 1/4″ pieces of the card and adhere inside the card.
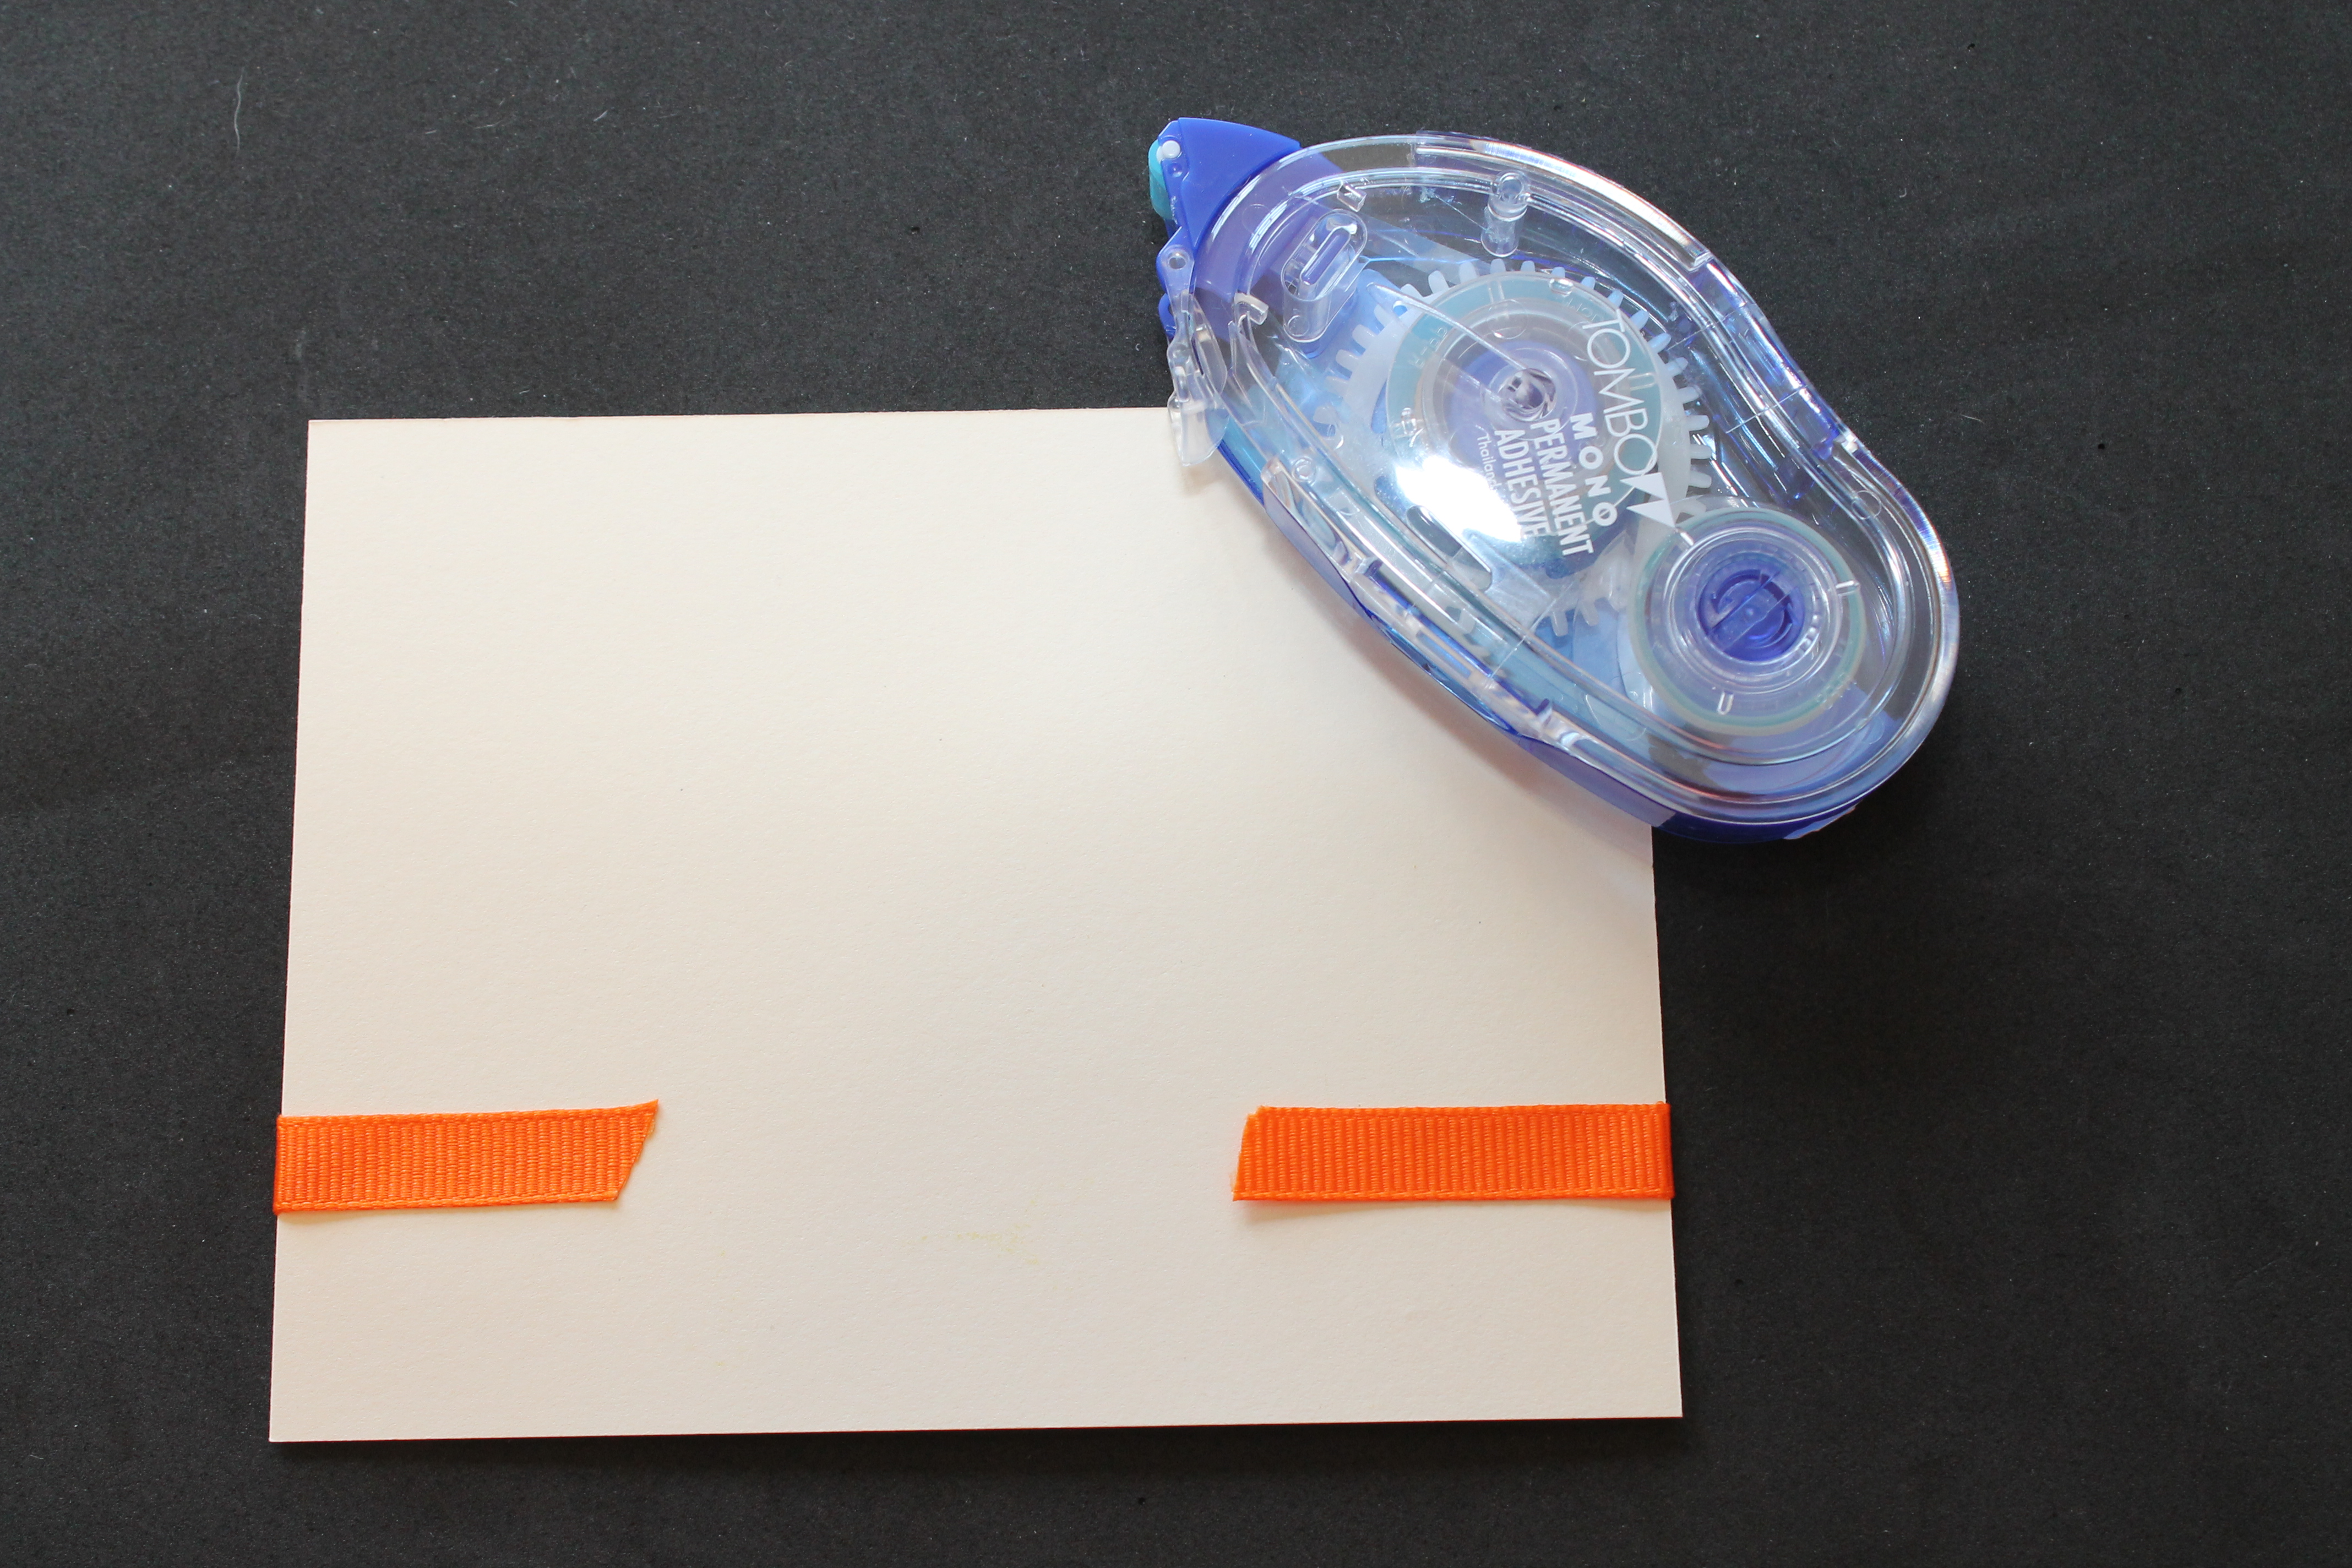
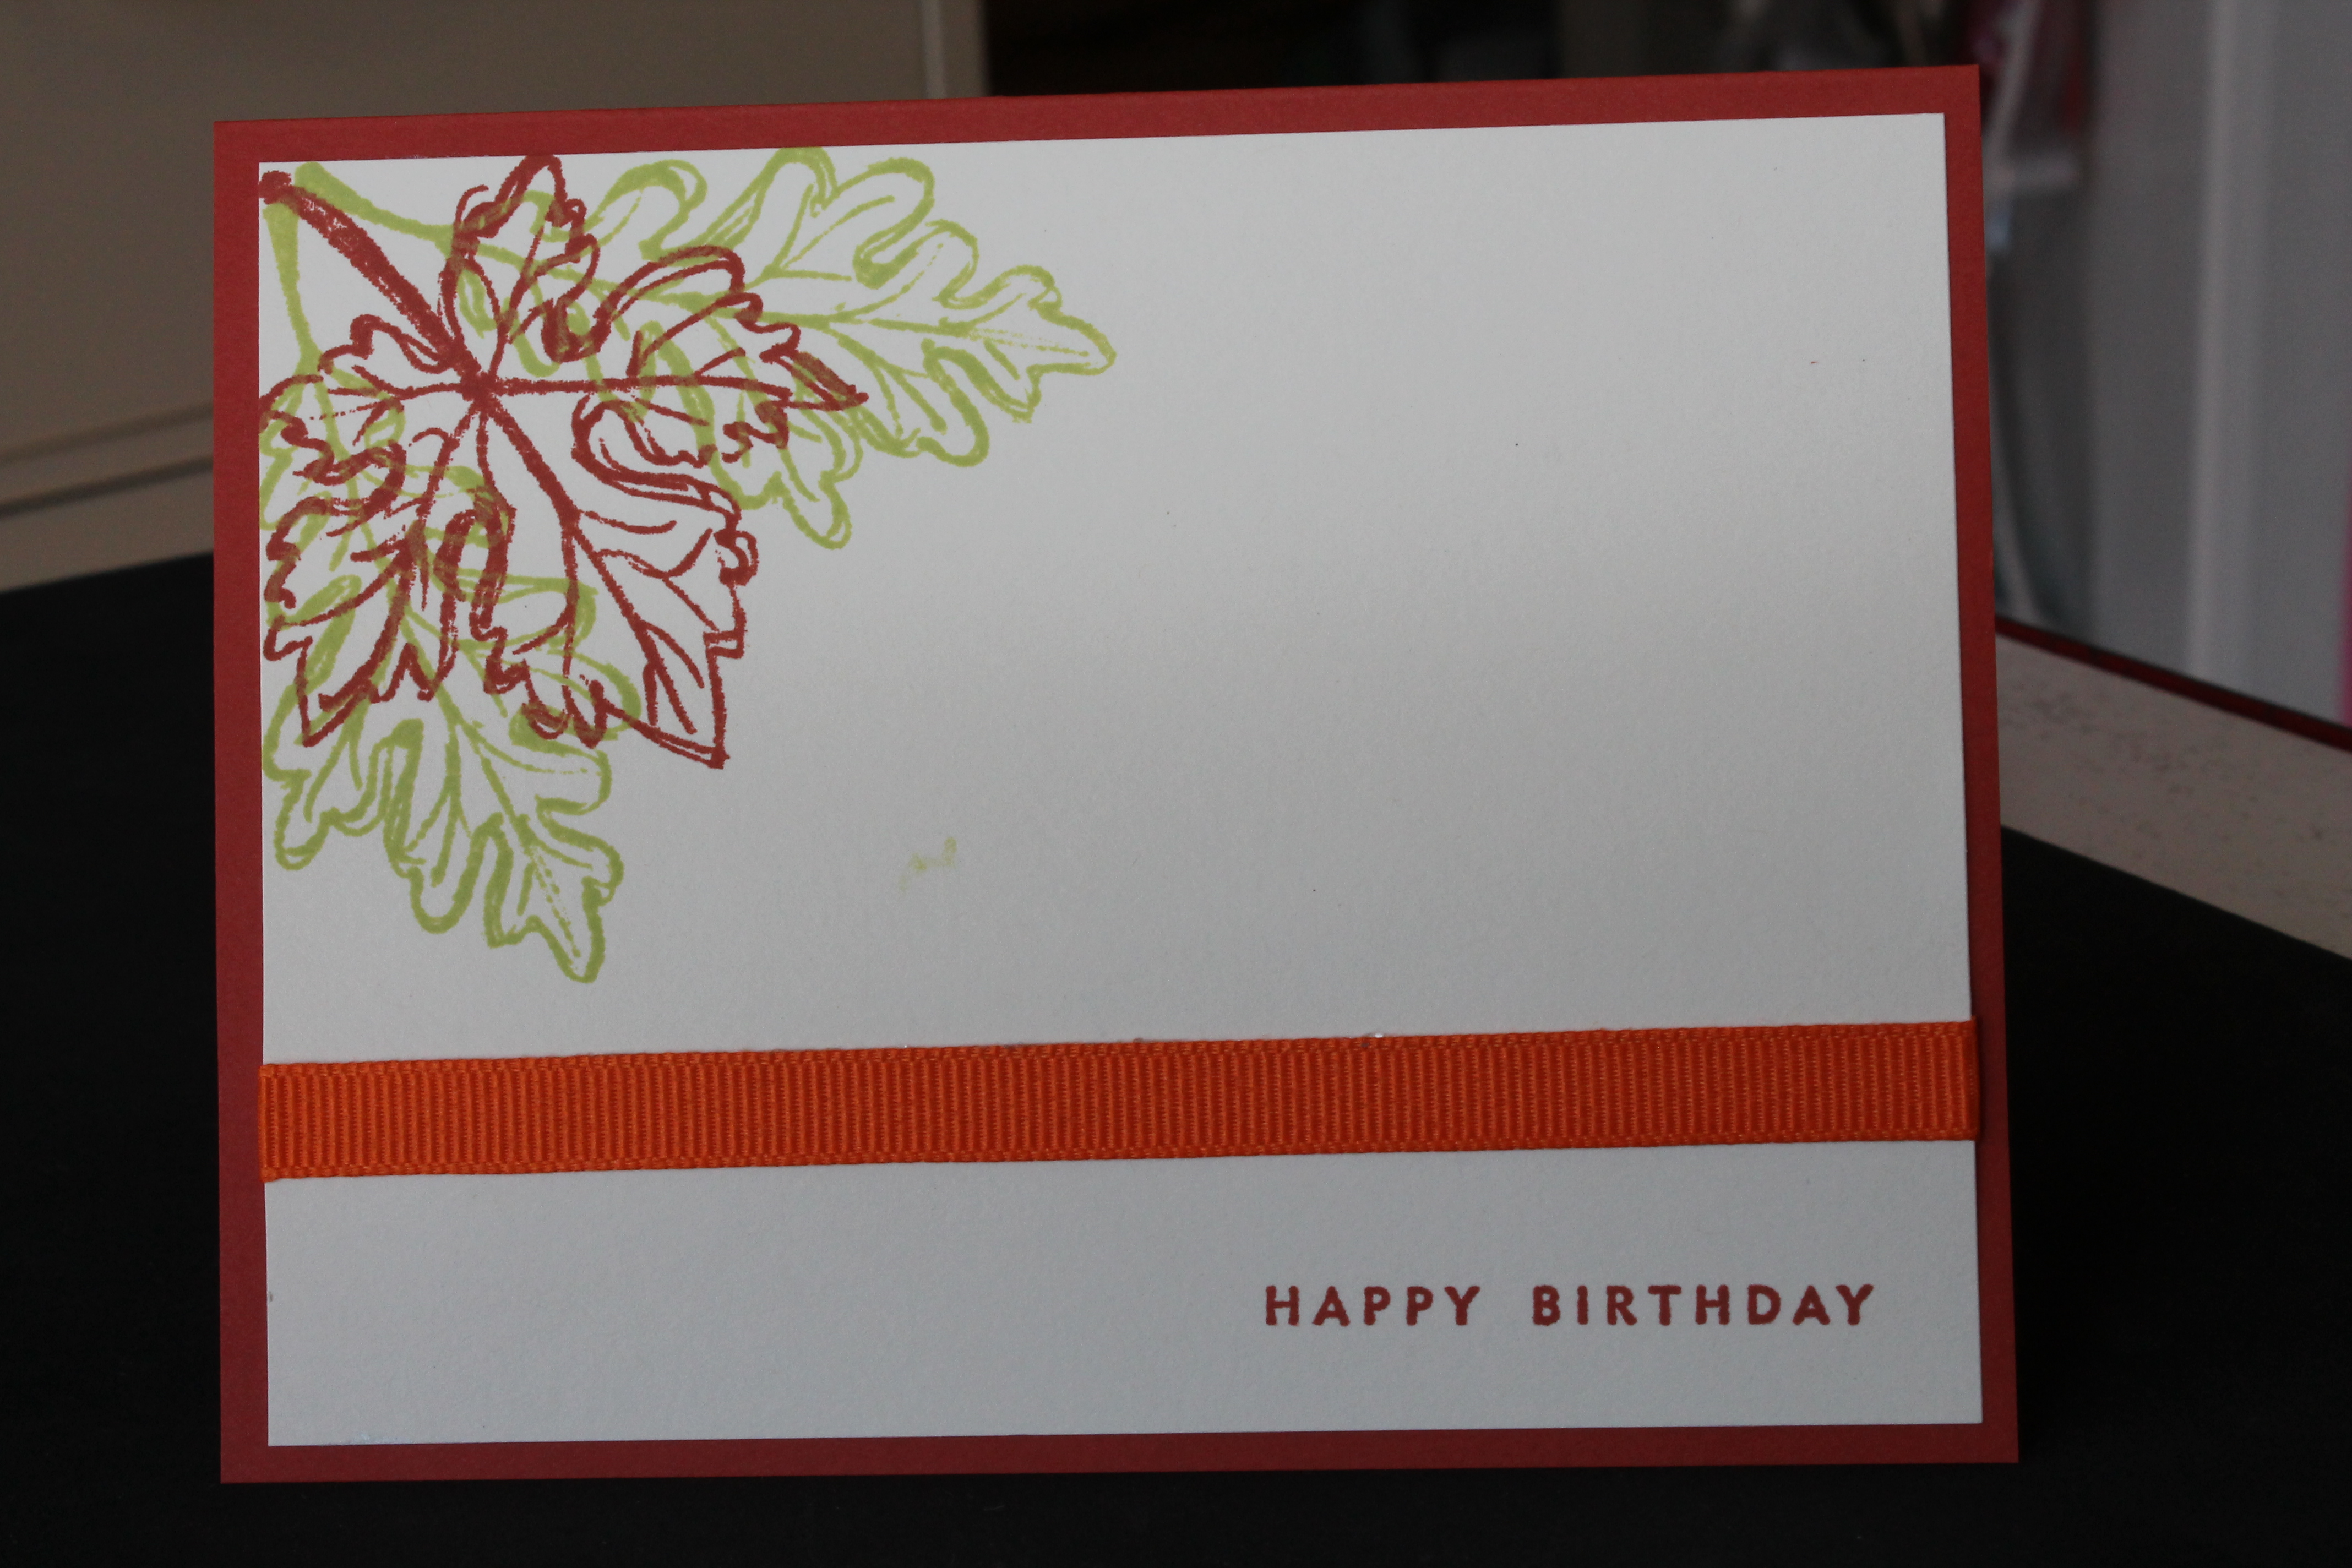
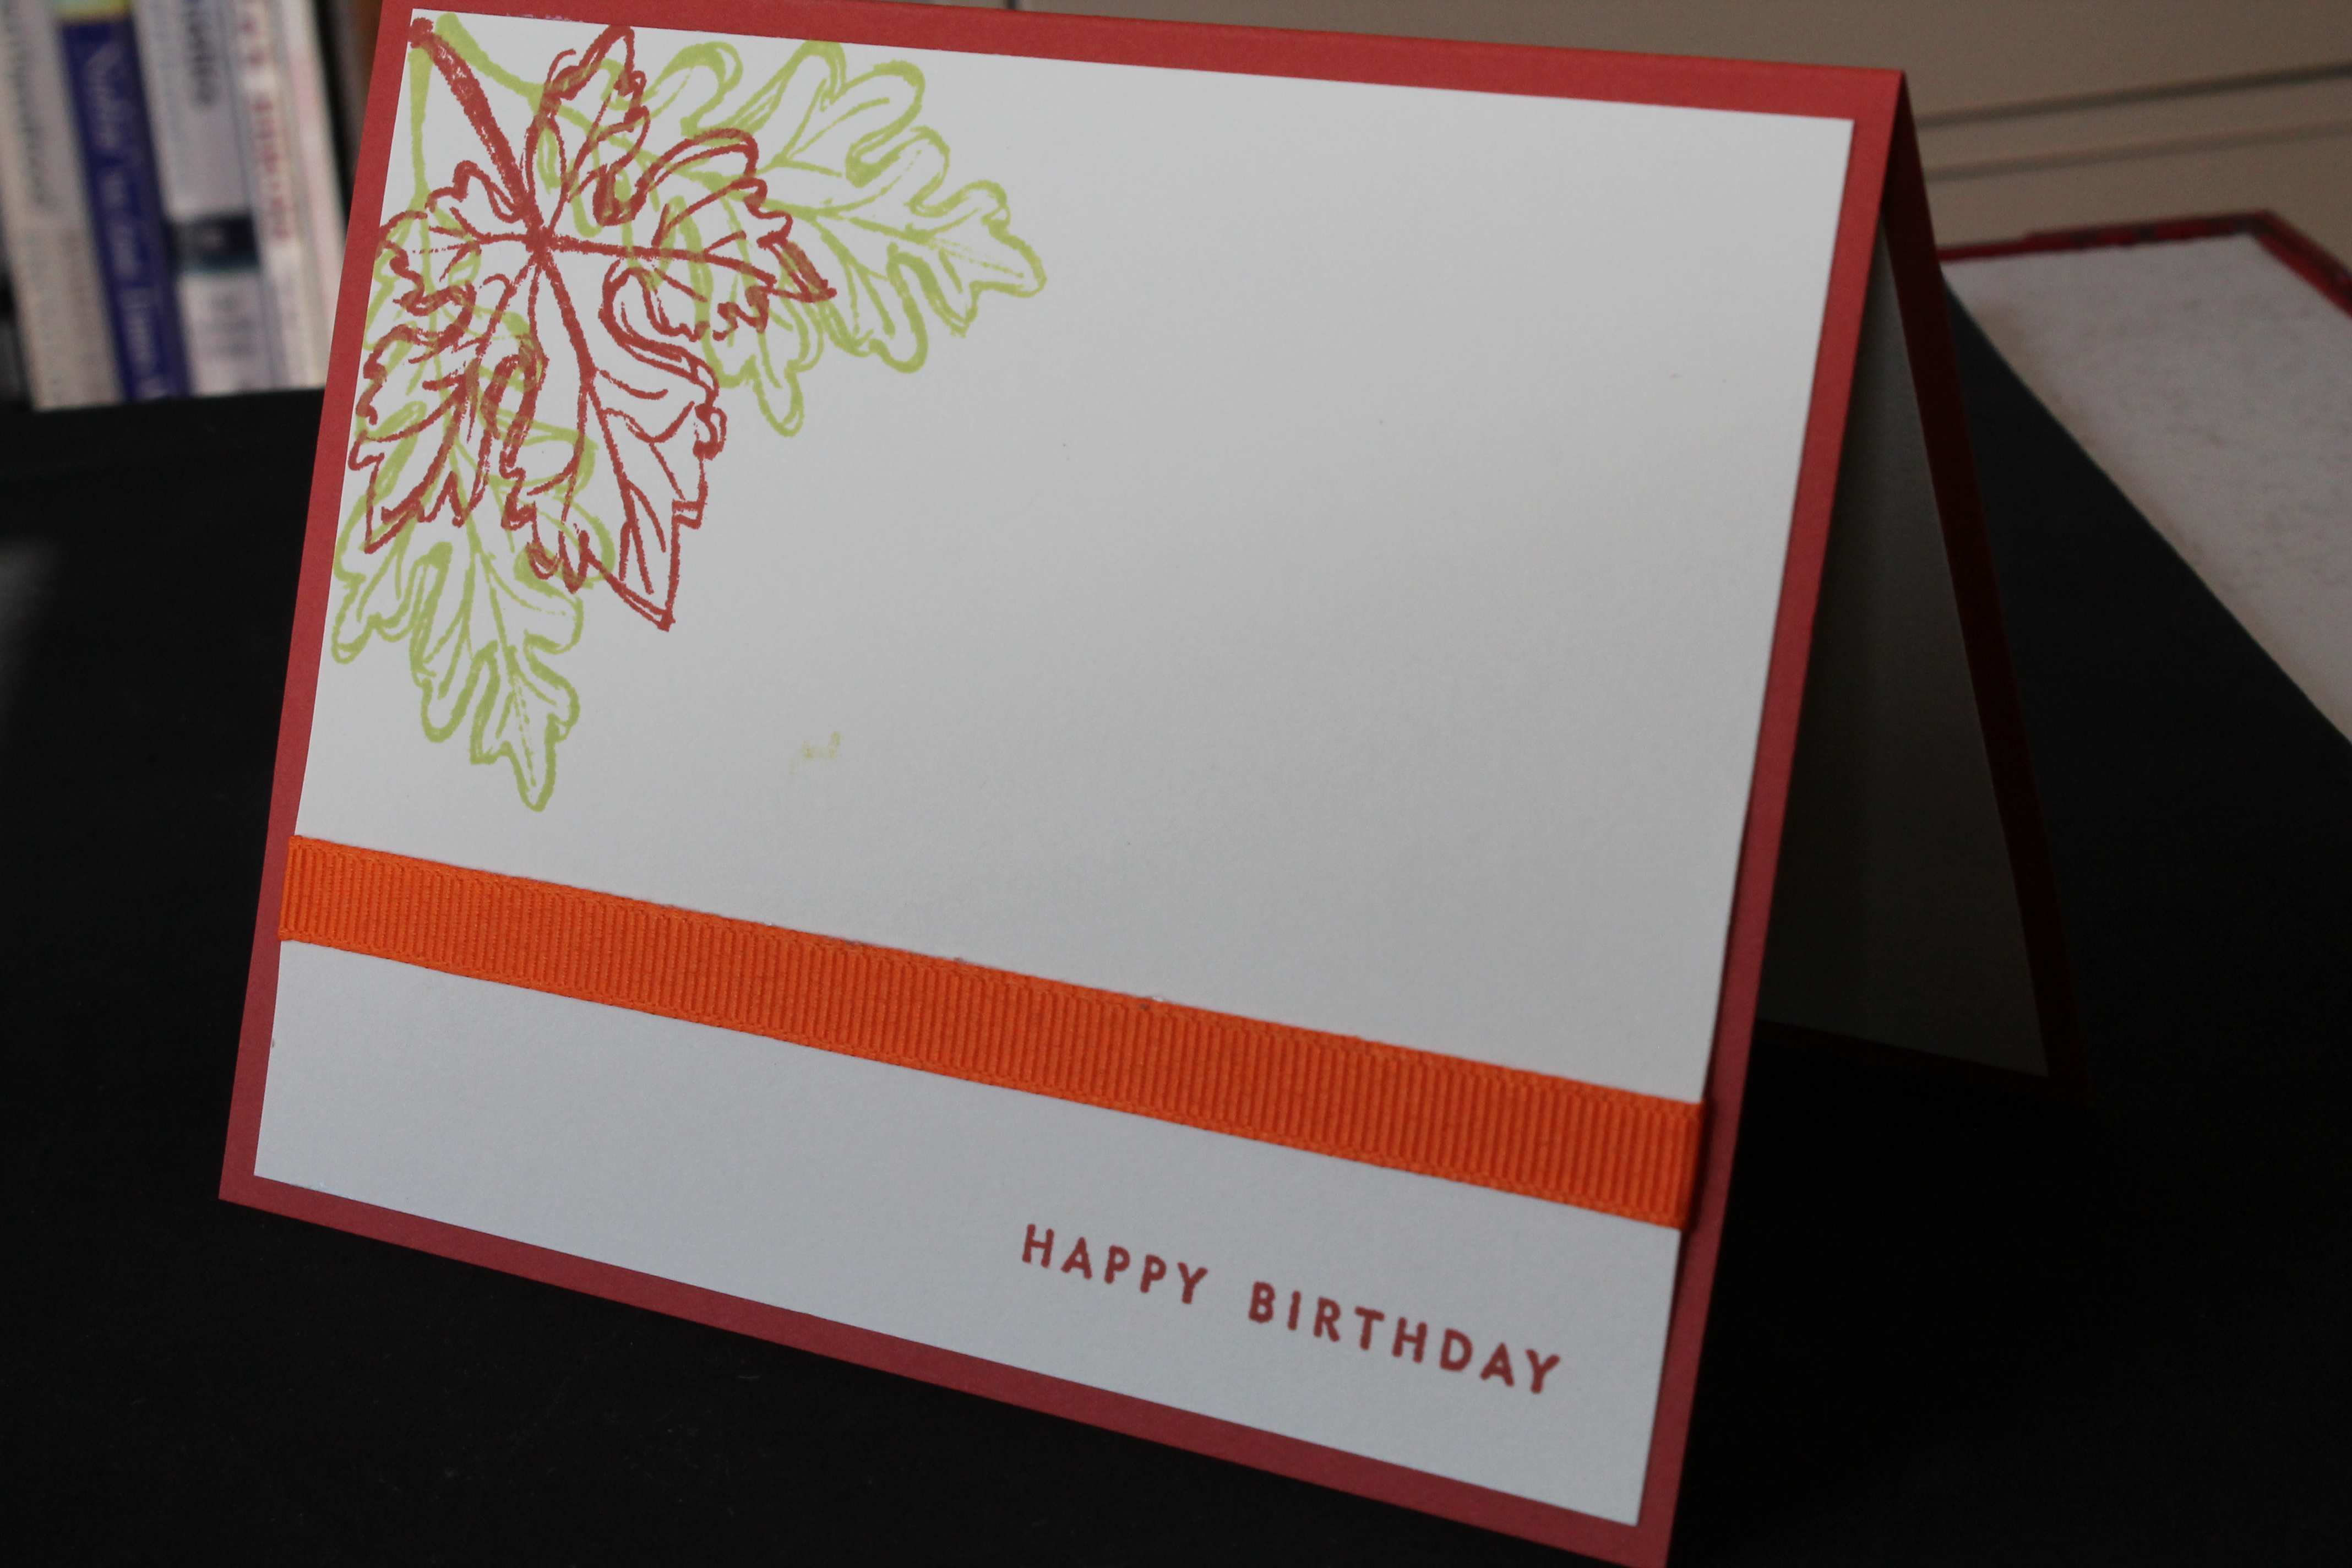
6. Stamp 3 images onto the remaining 4″ x 5 1/4″ piece of cardstock. Stamp sentiment in bottom right hand corner. Use tape runner to add adhesive to the ribbon and adhere to the cardstock. Use adhesive to adhere cardstock to card. In good design practices you will most often find that items are used in odd numbers. Notice that the leaves are stamped three times. Another thing to note in basic design is the thirds rule. Imagine your card divided into three sections. You can add images or embellishments in all three areas, or divide it into two-third/one-third. This gives the card flow and breaks up the card to give it a better design.

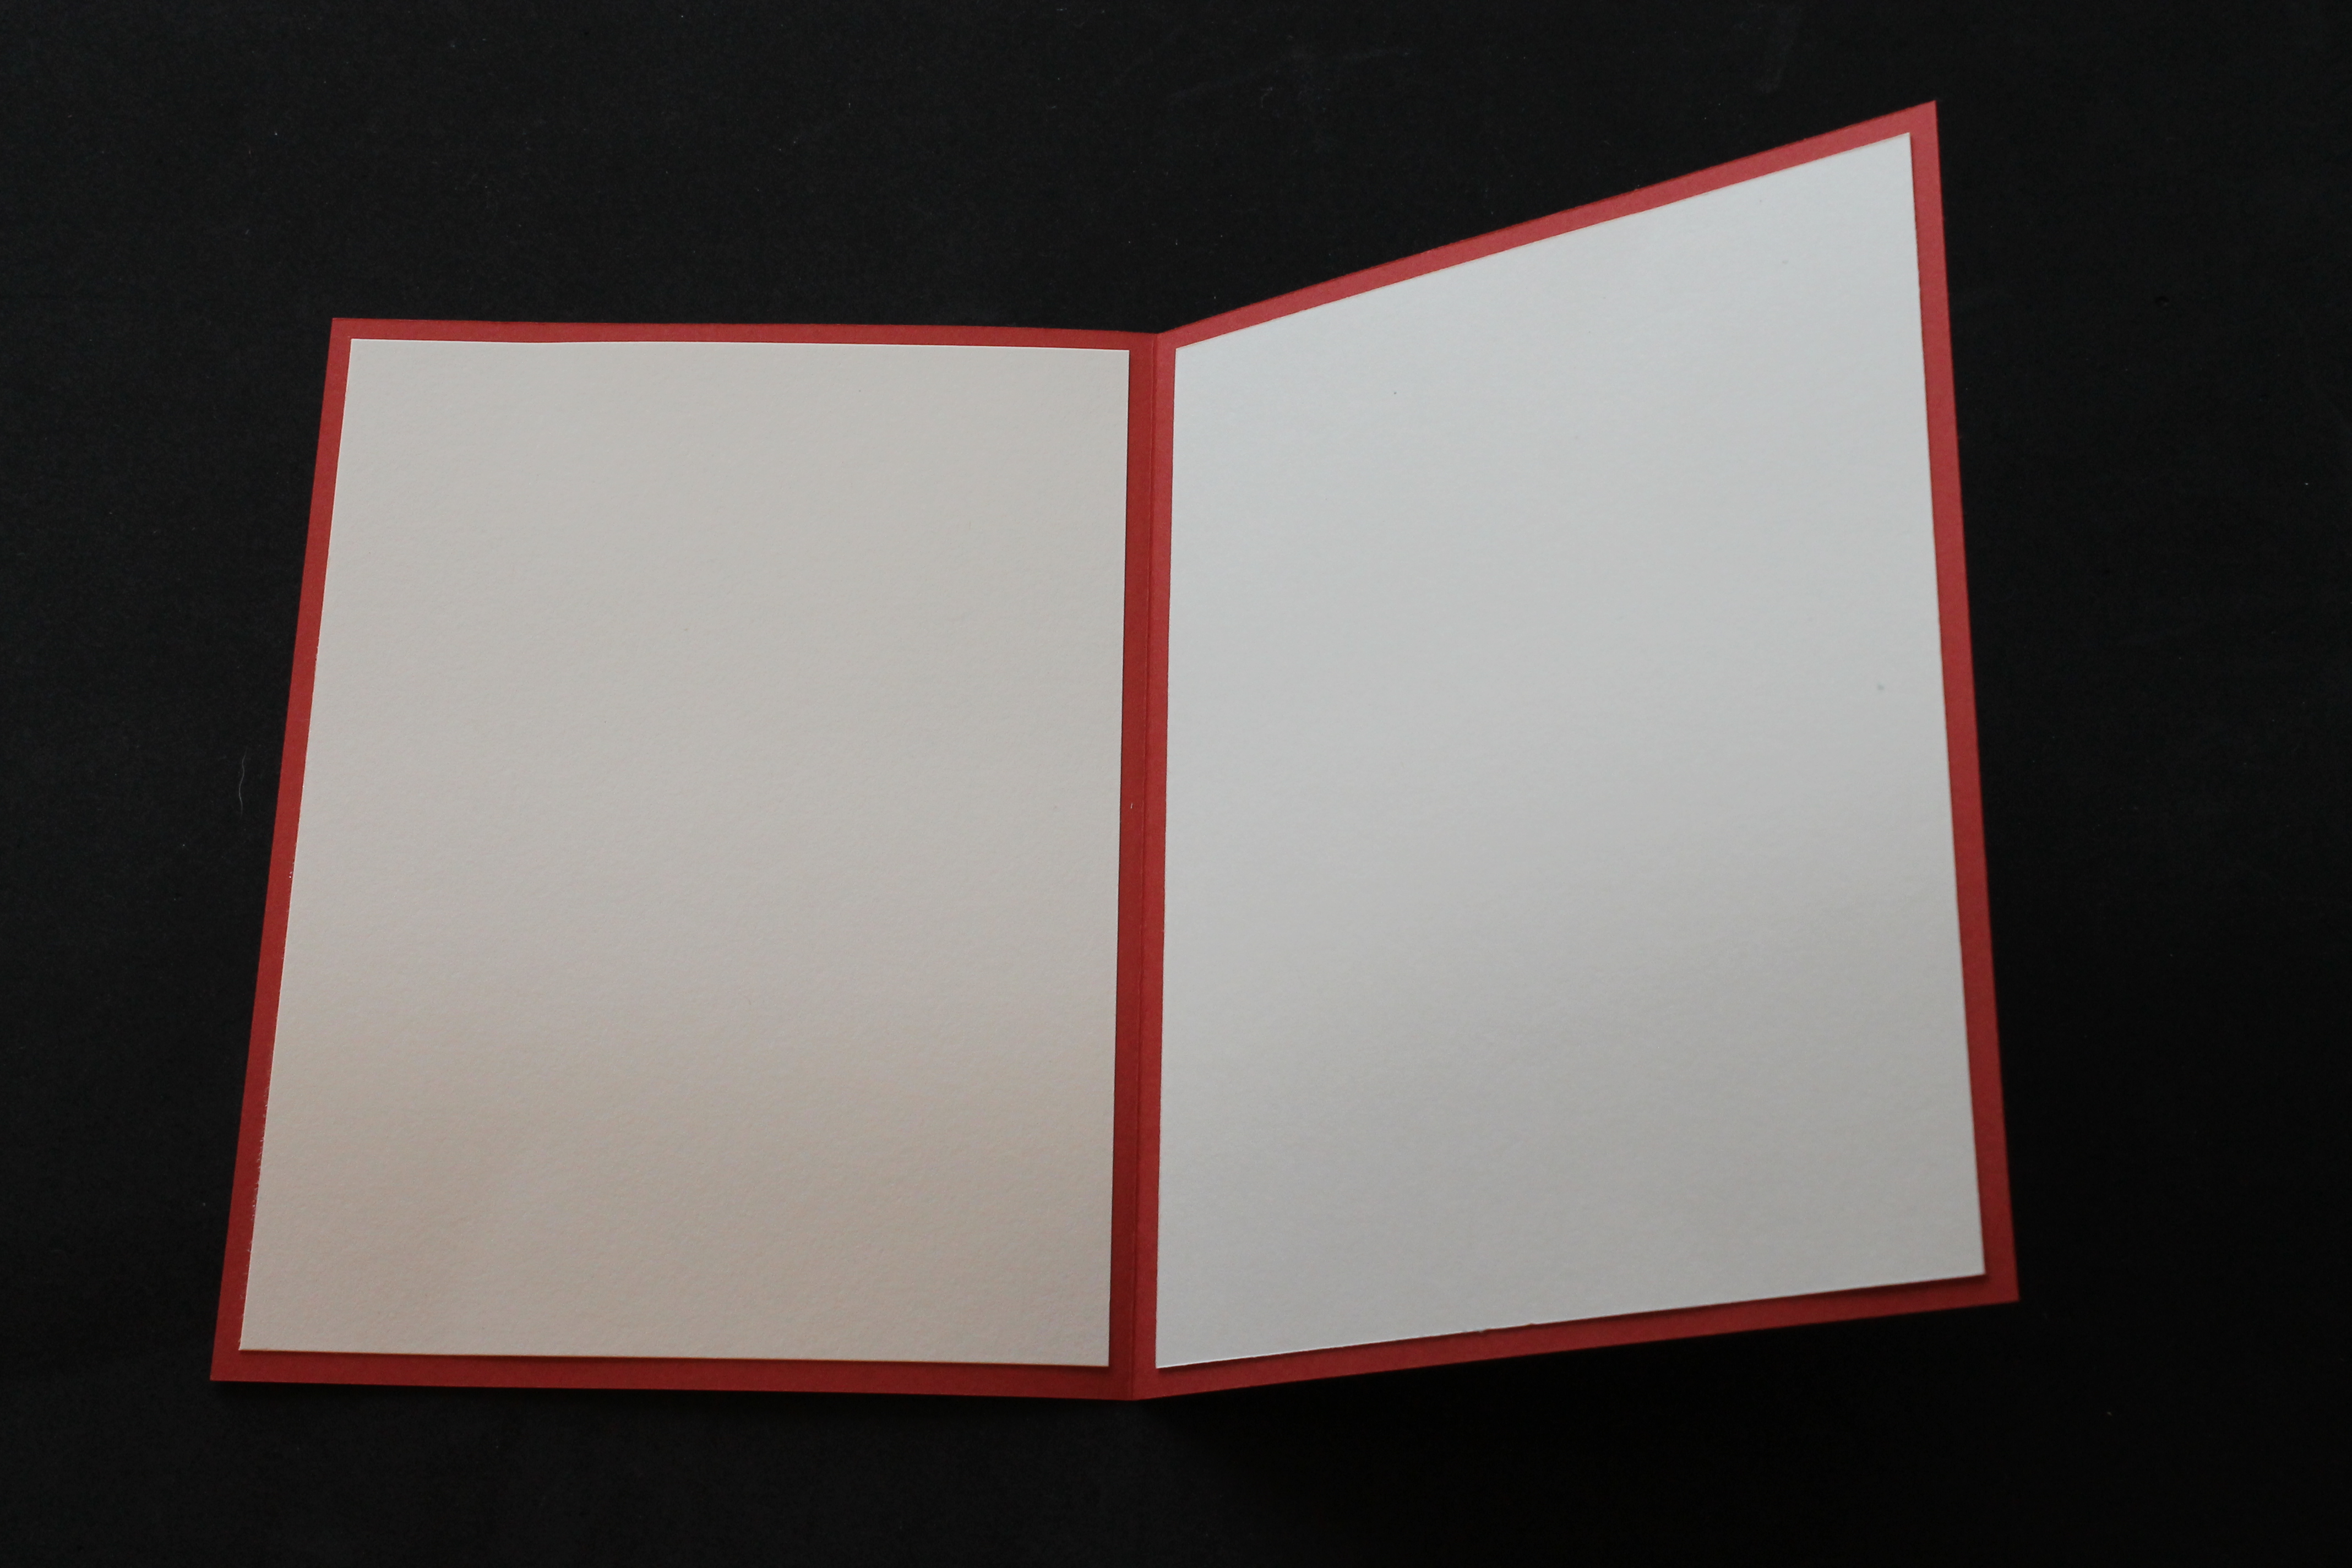
The finished card:
